Ubuntu 24.04 is one of the latest releases and distributions of Linux. To run Ubuntu 24.04 on Windows, you can either use WSL or a virtual machine. However, running a different virtual machine uses more system resources.
Thus, WSL is better for basic Ubuntu 24.04 use.
This blog demonstrates how to install Ubuntu 24.04 on WSL in Windows.
How to Install Ubuntu 24.04 on WSL?
WSL is referred to as the Windows Subsystem for Linux. It offers support for Linux distributions on Windows.
To install Ubuntu 24.04 on WSL in Windows, go through the below steps:
Step 1: Enable WSL Windows Feature
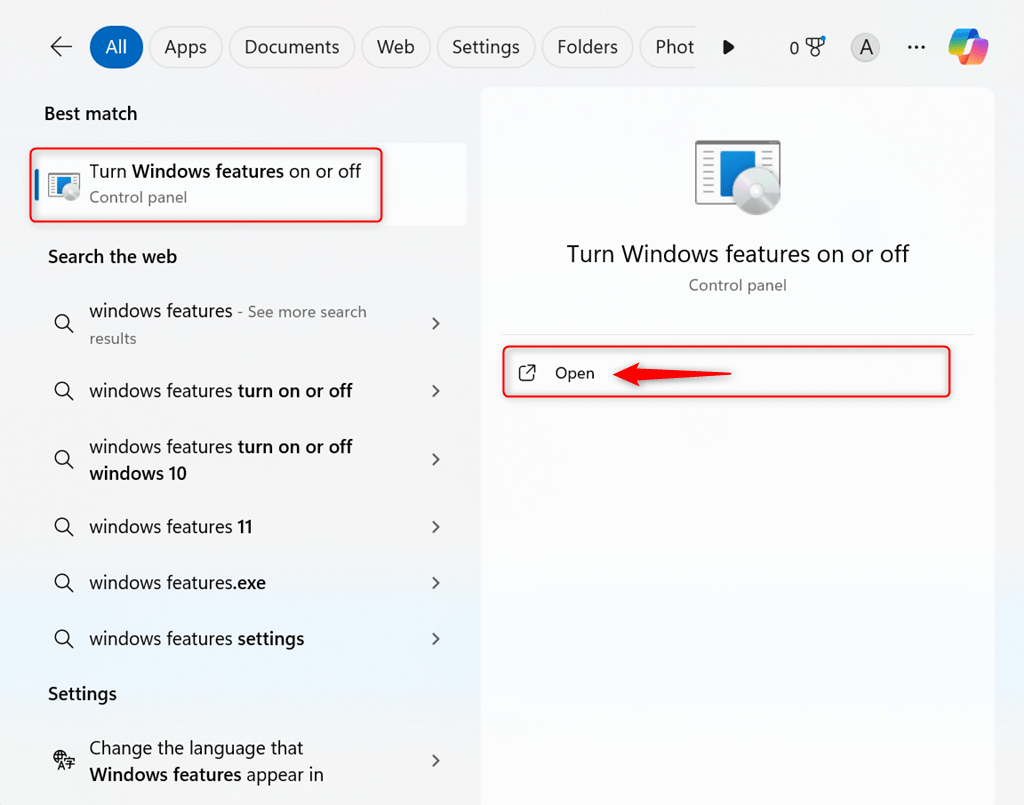
First, launch the “Windows Feature turn on or off” settings via the Start menu:
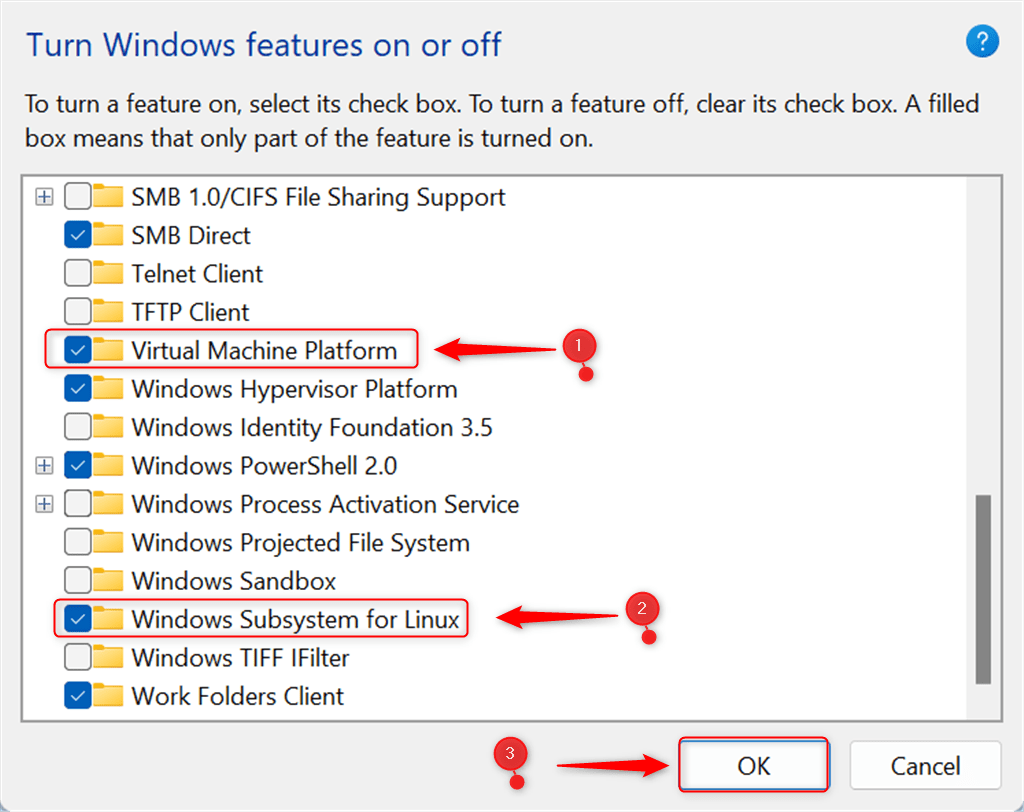
Enable the “Virtual Platform” and “Windows Subsystem for Linux” checkboxes and hit the “OK” button:
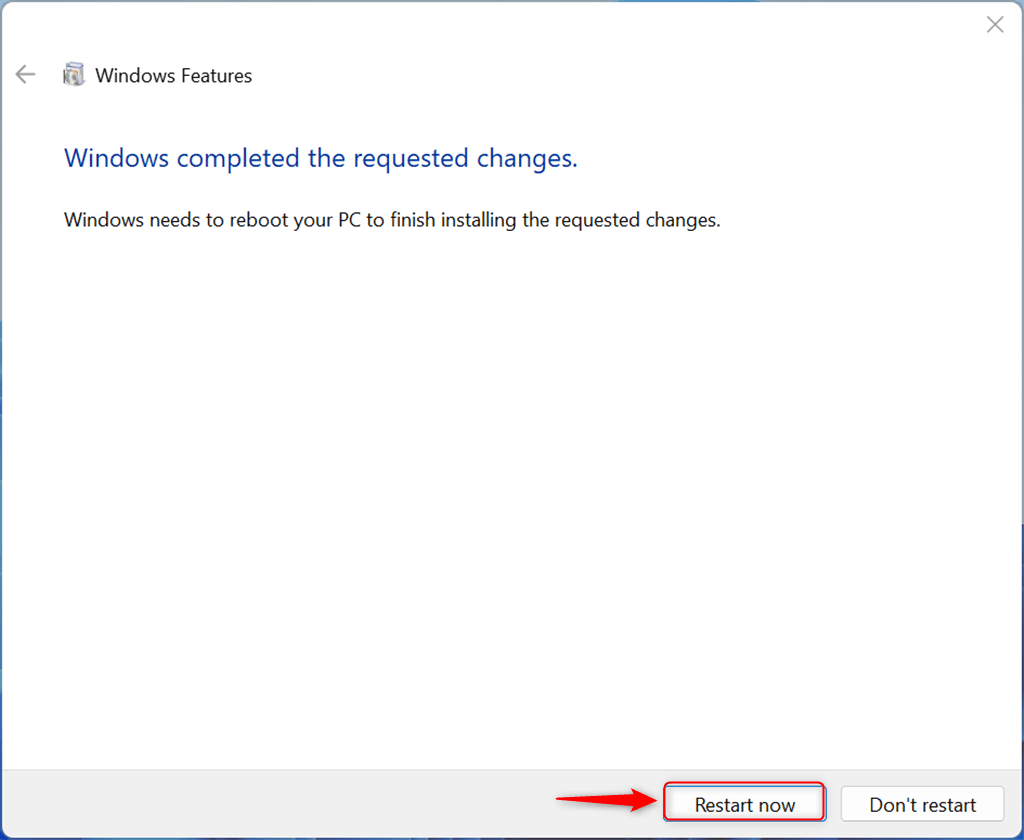
Now, restart the system to configure new settings:
Step 2: Update WSL
To update the WSL, download the “wsl_update_x64.msi” file.
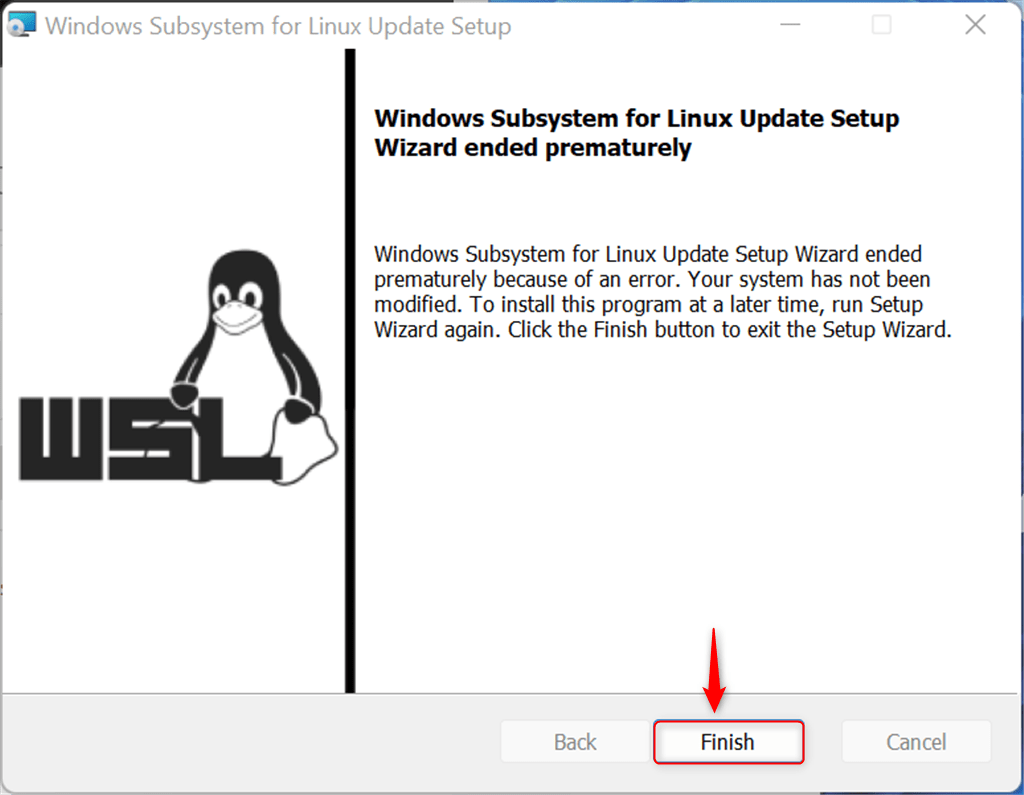
Next, launch the Downloads directory and execute the file “wsl_update_x64.msi” to update WSL. Then, hit the “Finish” button:
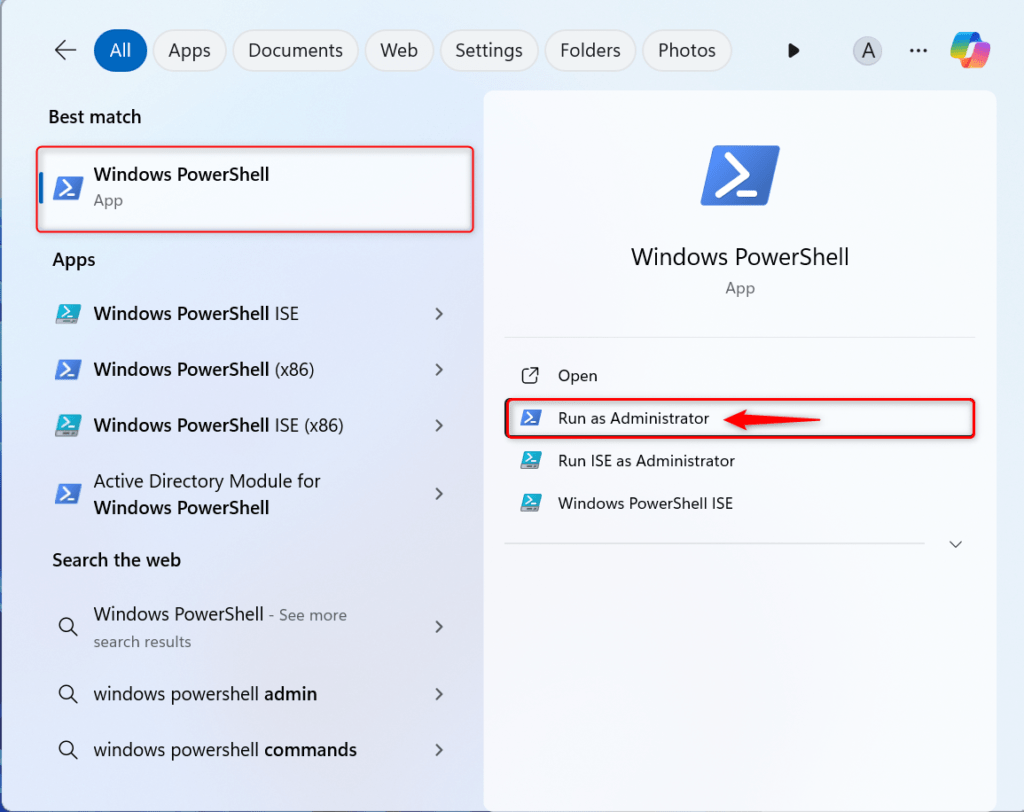
Step 3: Launch Windows PowerShell
Launch the Windows PowerShell as Administrator from the Startup menu:
Step 4: Set WSL Default Version 2
Set the WSL default version as “2” using:
wsl --set-default-version 2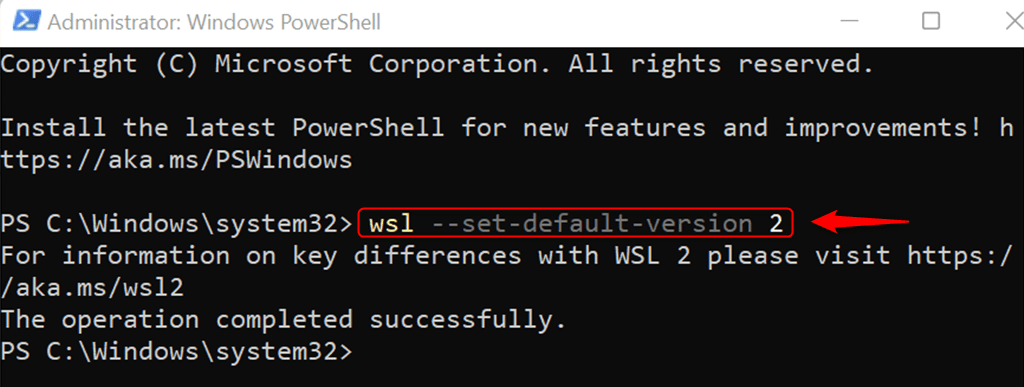
Step 5: List Available Linux Distro Images on WSL
Next, list the available Linux distro images that can install the required Linux distribution via:
wsl -l --online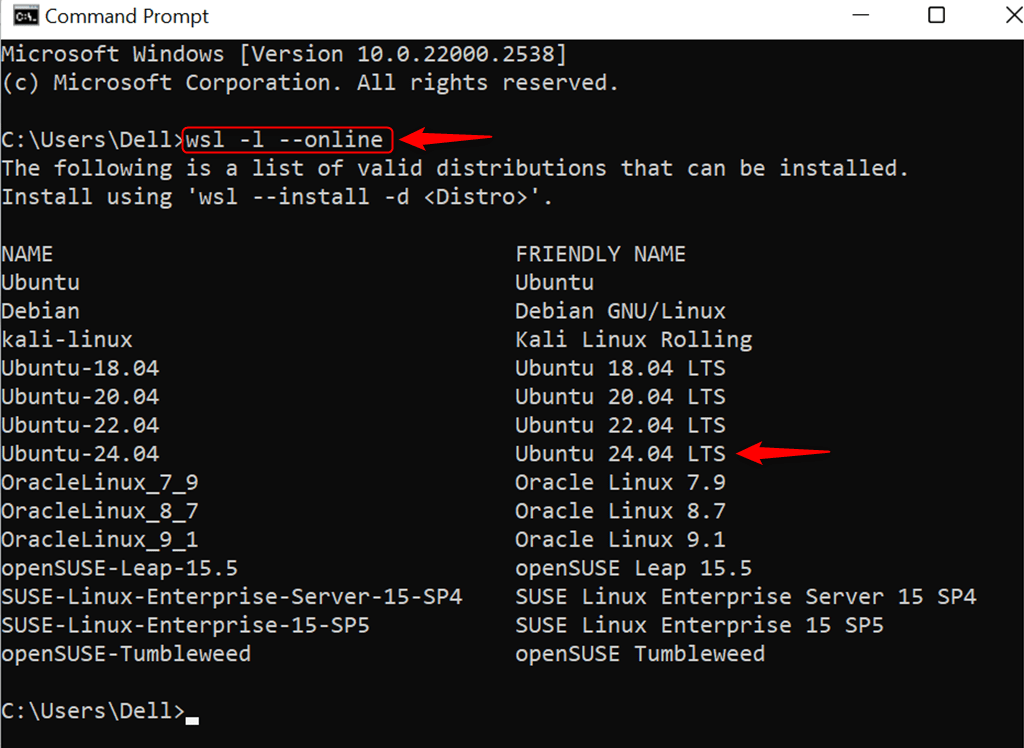
Step 6: Install Ubuntu 24.04 on WSL
Now, install Ubuntu 24.04 on WSL in Windows through the following command:
wsl --install -d Ubuntu-24.04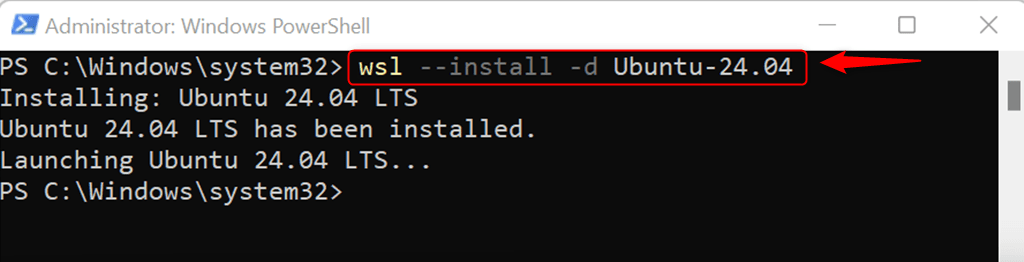
Step 7: Set New User
The Ubuntu 24.04 terminal will run directly after installation and prompt you to create a new user. Set the new username and password:

Step 8: Verification
For verification, view the information about installed Linux Distribution:
lsb_release -aThe output shows that we have effectively installed Ubuntu 24.04 on WSL in Windows:

Step 9: Update and Upgrade Ubuntu 24.04 Packages
Update and Upgrade the Ubuntu 24.04 Package through:
sudo apt update && sudo apt upgrade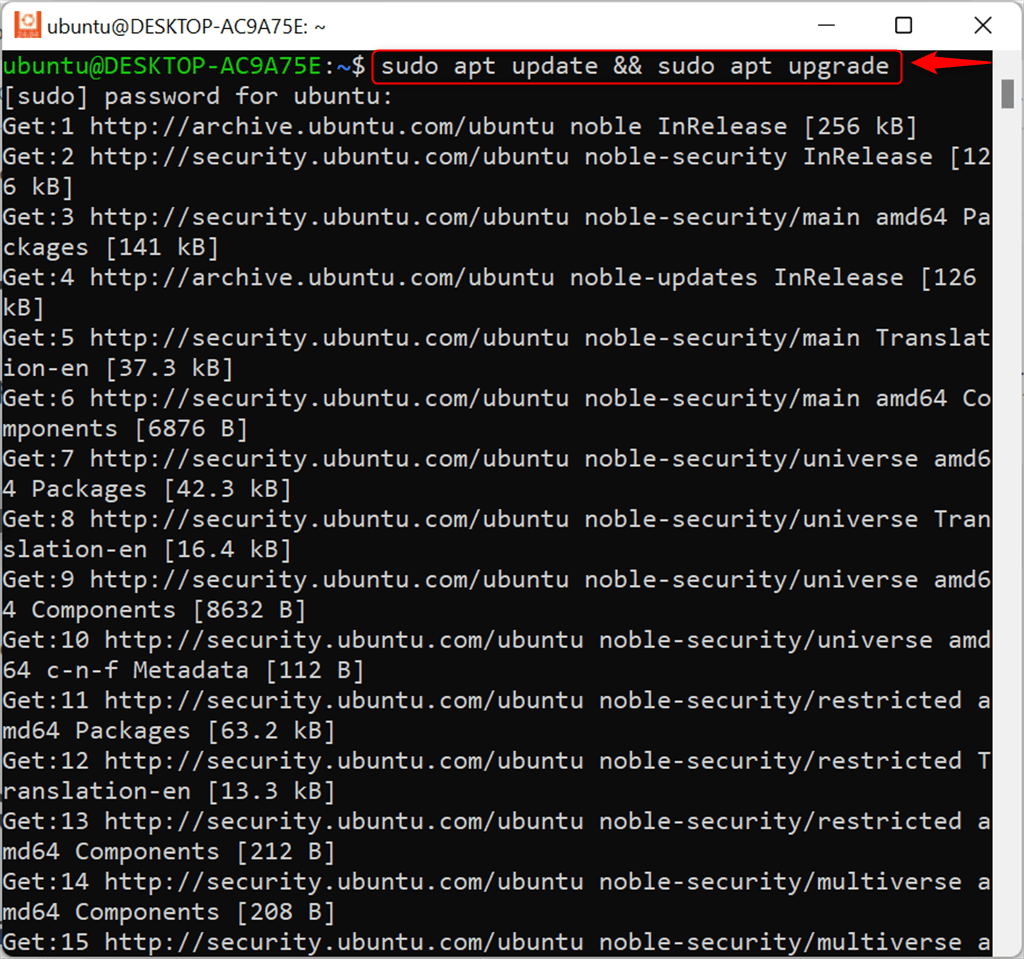
To sum up, first enable the WSL on Windows. Then, install Ubuntu 24.04 on WSL using the “wsl –install -d Ubuntu-24.04” command.
Software engineer with 3+ years of expertise in Linux, Windows, and multiple programming languages. Proficient in Docker, Kubernetes, and Elasticsearch. Passionate about building scalable systems and helping others through clear, problem-solving guides