If you want to install the Nginx server on Ubuntu 24.04, then you are on the right blog.
Nginx server is a web server of Unix and Linux systems. It offers various services such as load balancing, reverse proxy, web sockets, HTTP caching, etc. On Ubuntu 24.04, it is widely used to manage websites and other web services.
Table of Contents
How to Install Nginx Server on Ubuntu 24.04?
To install the Nginx server on Ubuntu 24.04, follow the below steps:
Step 1: Update Ubuntu Packages
First, update the Ubuntu packages through the following command:
sudo apt update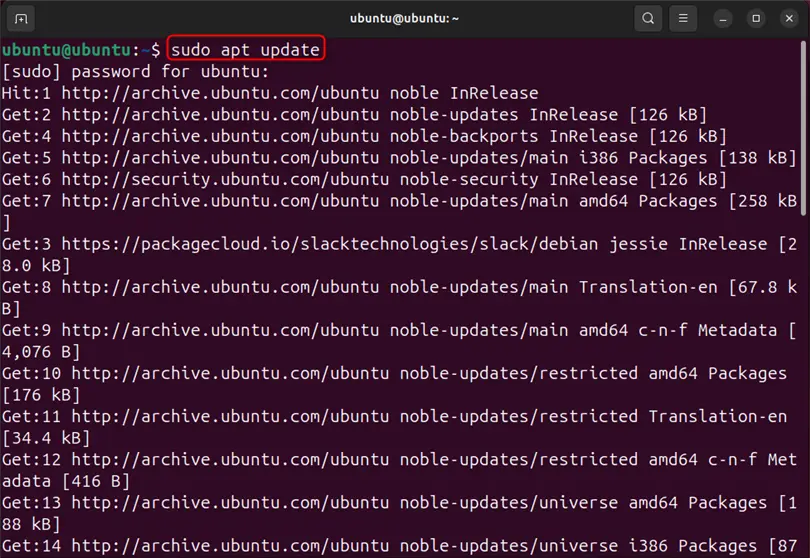
Step 2: Install Nginx
Next, install the Nginx server in Ubuntu 24.04 using the mentioned command:
sudo apt install nginx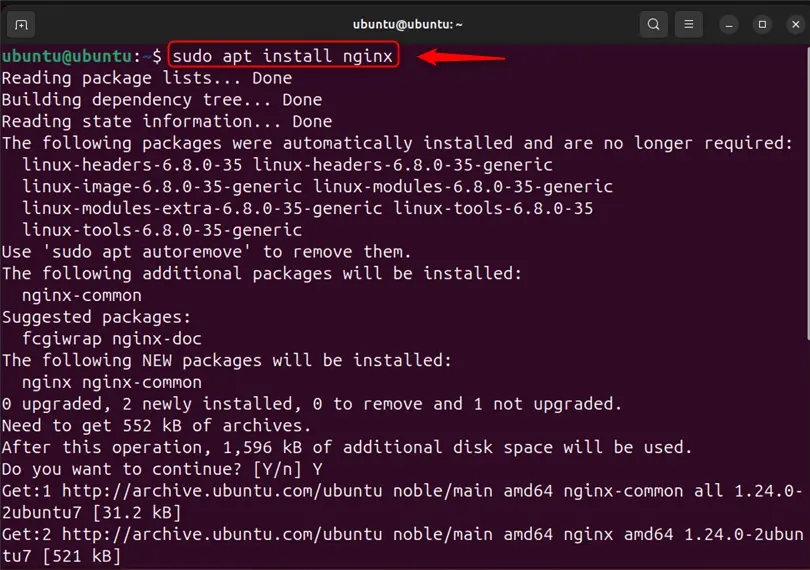
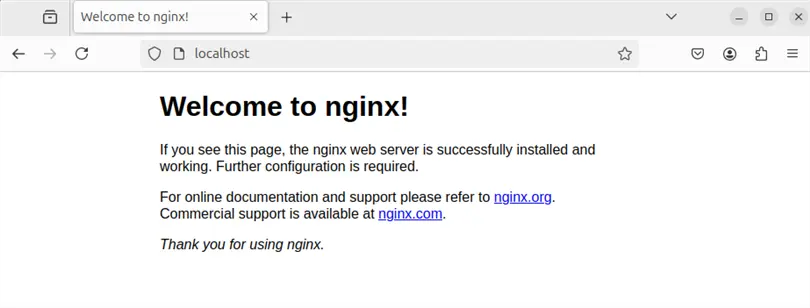
For verification, navigate to “localhost:80” from the browser and check if the default set Nginx page is visible or not:
Note: If port 80 is not available for Nginx, use a Firewall to activate the “Nginx HTTP” service. This service uses port 80 by default:
sudo ufw allow ‘Nginx HTTP’
Alternatively, allow the Nginx default port through the Firewall using:
sudo ufw allow 80/tcpHow to Configure Web Page on Nginx Server in Ubuntu 24.04?
To configure the web page on the Nginx server or to use the Nginx server to manage the website or service, follow the below demonstration:
Step 1: Navigate to “var/www/html” Directory
First, navigate to the “/var/www/html/” directory where the default Nginx page is placed:
cd /var/www/html/
ls
Step 2: Set New Web Page
Next, create a new webpage to run on the Nginx server. For this purpose, first, create an “index.html” file through the “nano” editor:
sudo nano index.htmlNext, add the HTML code to create a page. You can also use the below code snippet for illustration:
<!DOCTYPE html>
<html>
<head>
  <title>Demo Page</title>
  <style>
  body {
        background-color: #BDB8AF;
        }
    .layout {
        text-align: center;
        padding: 50px;
        }
  </style>
</head>
<body>
  <div class="layout">
  <h1>Welcome to Yourtechteacher Tutorial</h1>
  </div>
</body>
</html>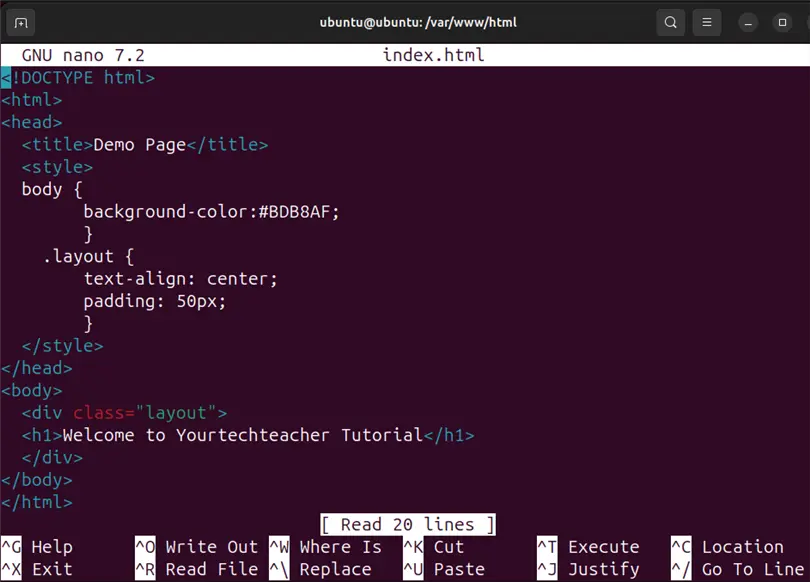
Save the file through “CTRL+S” and exit the nano editor through “CTRL+X”.
Step 3: Configure Virtual Host
Next, configure the virtual host to manage the web page on the Nginx server. For this purpose, first, navigate to the “/etc/nginx/sites-enabled” directory:
cd /etc/nginx/sites-enabled
Next, paste the following code into the file:
server {
       listen 81;
       listen [::]:81;
       server_name localhost;
       root /var/www/html;
       index index.html;
       location / {
               try_files $uri $uri/ =404;
       }
}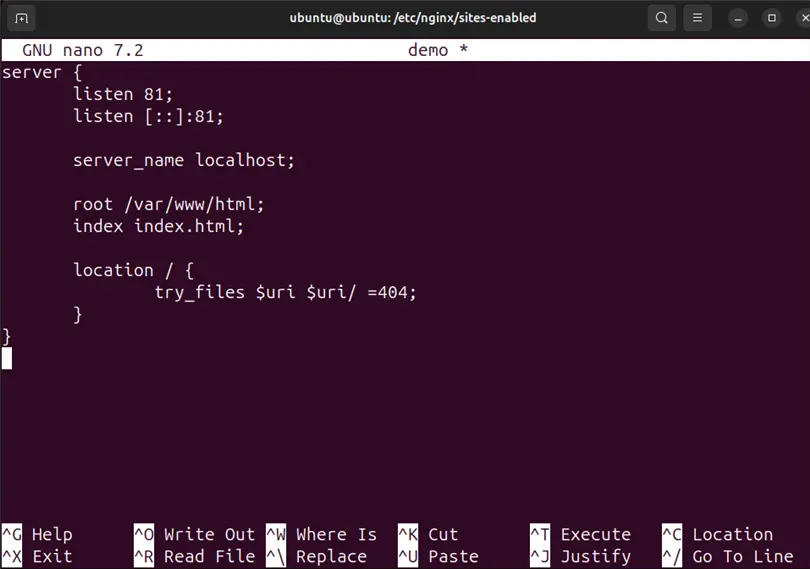
In the above snippet:
- The webpage will be accessible or executed on port “81”.
- server_name is the server name. Replace it with your preferred server name:
- root is a directory where web pages or other content pages are available:
- index is used to specify the file
Step 4: Restart Nginx Server
Now, restart the Nginx server through the mentioned command:
sudo service nginx restart
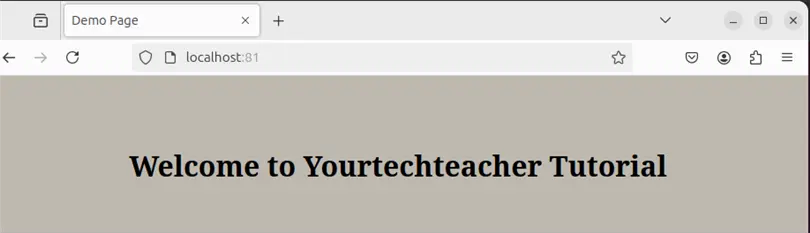
For confirmation, navigate to the “localhost:81” and check if the webpage is executing on the configured virtual host or not:
To sum up, install the nginx server in Ubuntu 24.04, through the “sudo apt install nginx” command. To enable or run the service, enable the “Nginx HTTP” service or Nginx default port “80” through the firewall.
Software engineer with 3+ years of expertise in Linux, Windows, and multiple programming languages. Proficient in Docker, Kubernetes, and Elasticsearch. Passionate about building scalable systems and helping others through clear, problem-solving guides