Wondering about how to install MySQL on Ubuntu 24.04? Go through this post then!
How to Install MySQL on Ubuntu 24.04?
MySQL is an open-source RDBMS available for Linux distributions, including Debian, and Ubuntu.
Let’s get it on Ubuntu 24.04.
Step 1: Update the System
Update the system through the mentioned command:
sudo apt update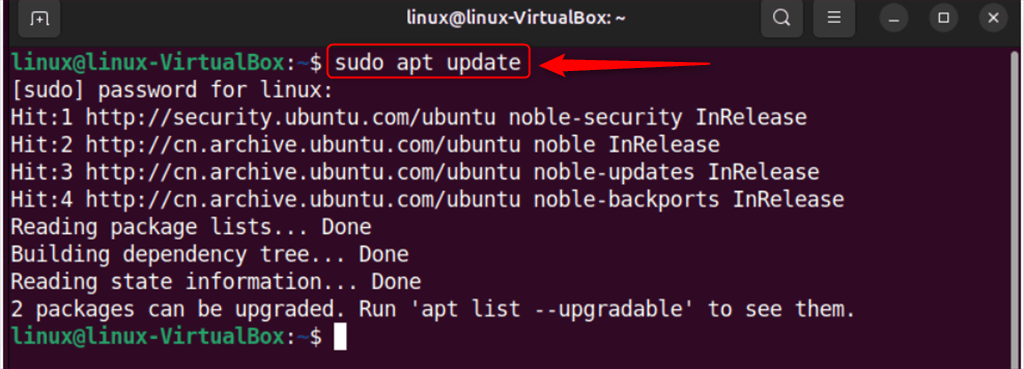
Step 2: Install MySQL Server
Next, we need to install “mysql-server“:
sudo apt install mysql-server
Step 3: Check the MySQL version
To validate the MySQL installation, check its version:
mysqld --version
Step 4: Check MySQL Service Status
Once installed, check MySQL service status with the help of the below command:
sudo systemctl status mysql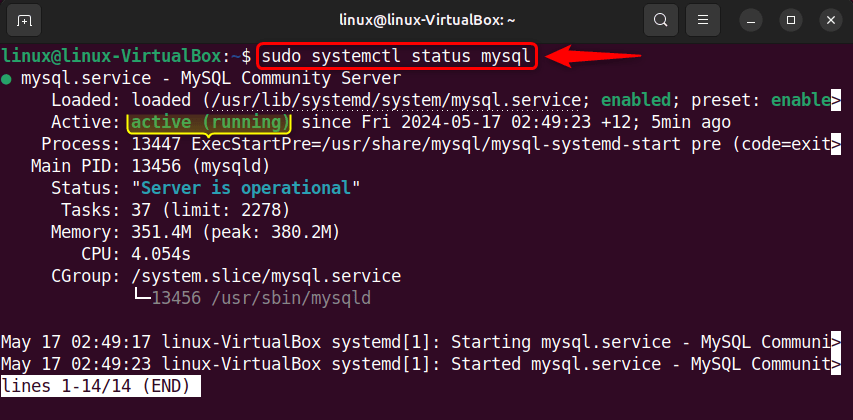
Step 5: Start MySQL Service
If MySQL service is not started yet, you can start it via:
sudo systemctl start mysql.serviceStep 6: Secure MySQL Installation
Execute the given command to enhance MySQL server security:
sudo mysql_secure_installation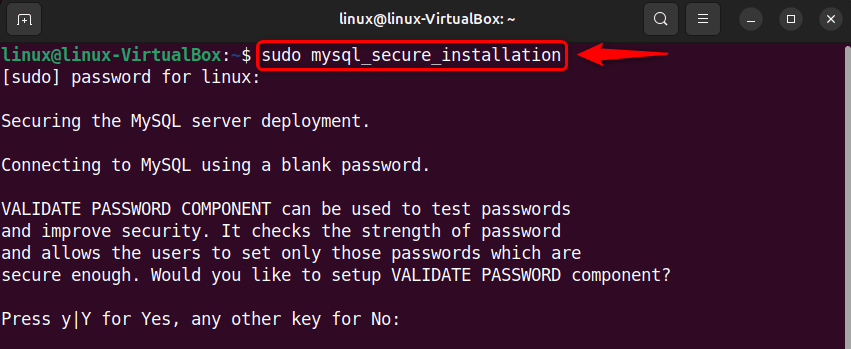
Next, enable VALIDATE PASSWORD COMPONENT to check the strength of the user password:

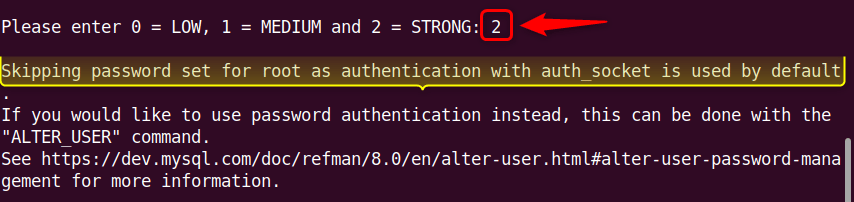
Now, select the minimum password strength as per your preferences:
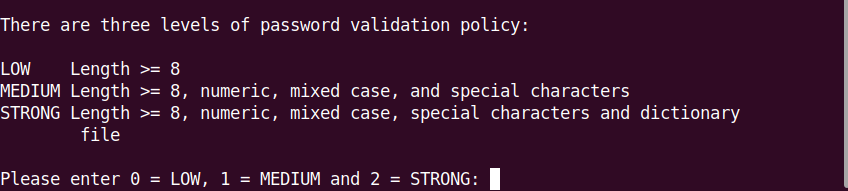
In our case, we selected “Strong” as the required password’s strength:
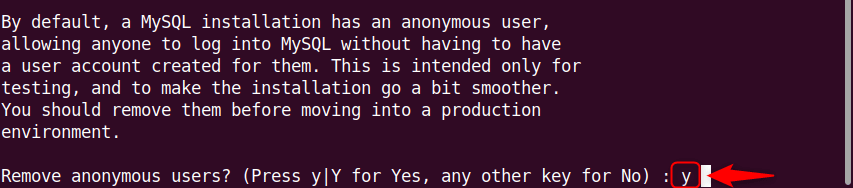
Next, remove anonymous users:
Then, disallow root to login remotely:
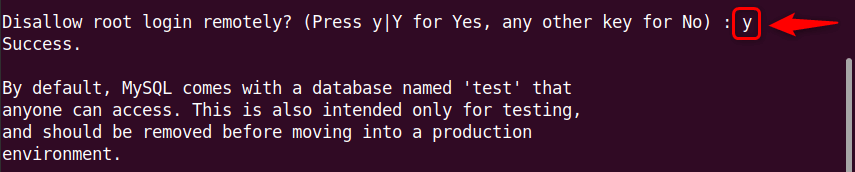
After that, remove the test database and access to it:
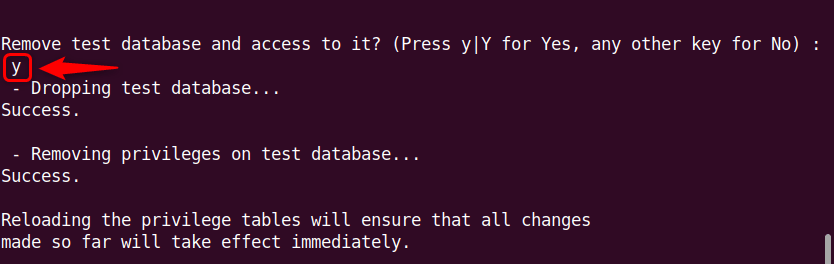
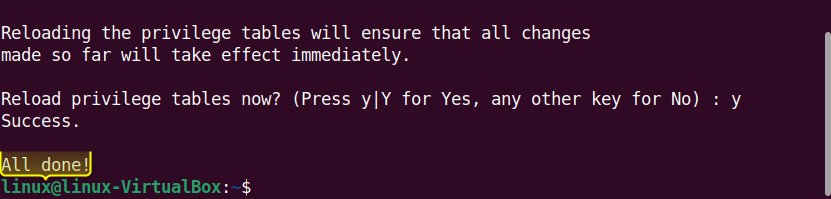
Lastly, enter “y” to reload privilege tables:
Step 7: Login to MySQL Server
Once all is done, log in to the MySQL server via:
sudo mysql -u root
I’m a professional technical content writer who has 4+ years of experience with different operating systems, programming languages, GUI-based apps, IT, and technology in general.