Ubuntu 24.04 (Noble Numbat) is the latest release, advancing the Linux echo system. The major innovation in the new release is the built-in advanced window tiling feature.
Furthermore, it promised 12 years of security and maintenance support that allows the developers to continue delivering open source and other advances for longer.
Are you facing challenges regarding the installation of Ubuntu 24.04 Noble Numbat? Here is the step-by-step guide to success. Let’s roll in!
How to Download and Install Ubuntu 24.04?
To use Ubuntu 24.04 on Windows or Mac OS, you must create the virtual machine using a hypervisor tool such as Oracle VM VirtualBox.
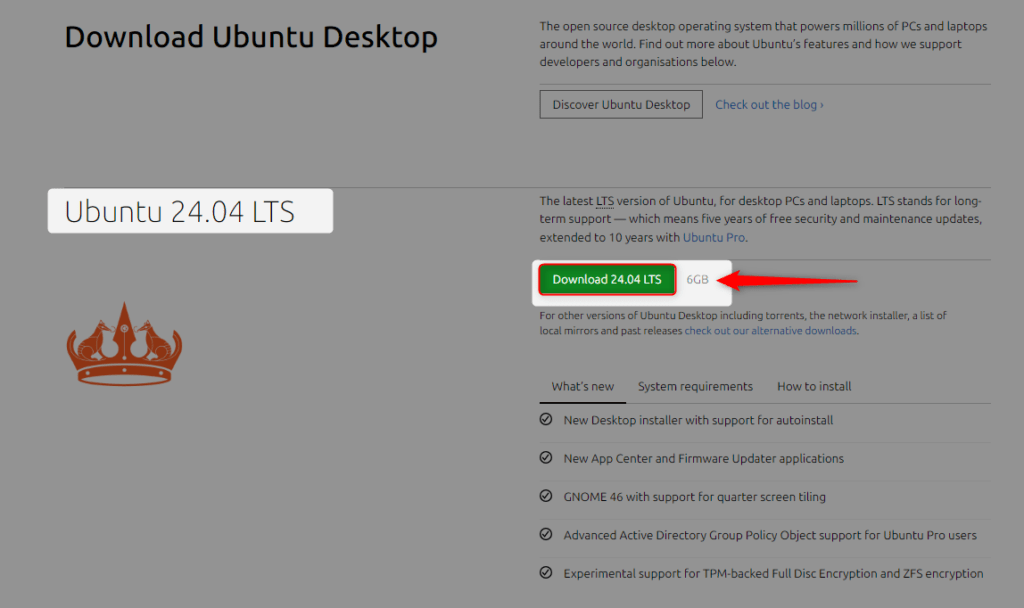
Step 1: Download ISO File
Go to Ubuntu’s official website, and download the Ubuntu 24.04 LTS ISO file:
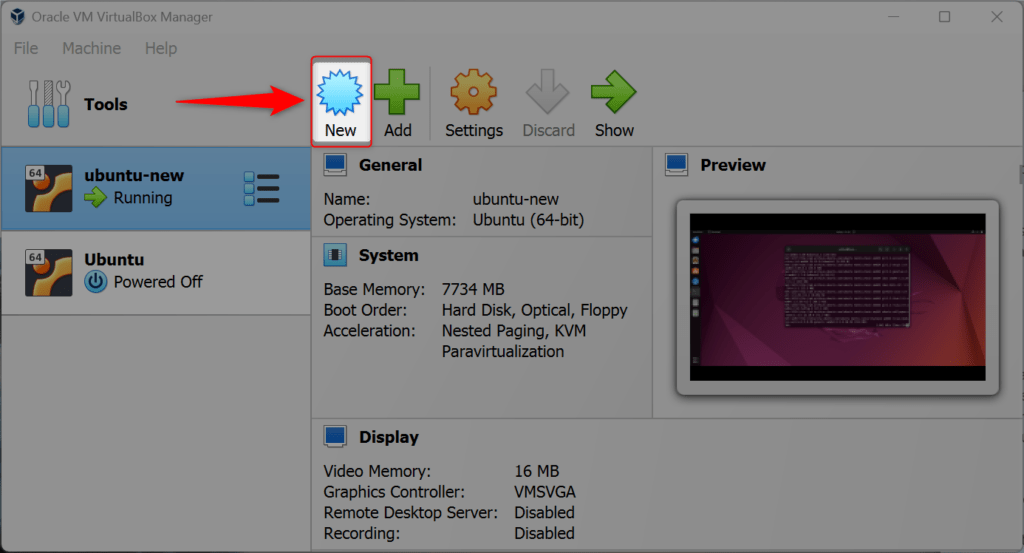
Step 2: Create a New Virtual Machine
Open Oracle VM VirtualBox Manager via Start menu and hit the “New” button to create a virtual machine:
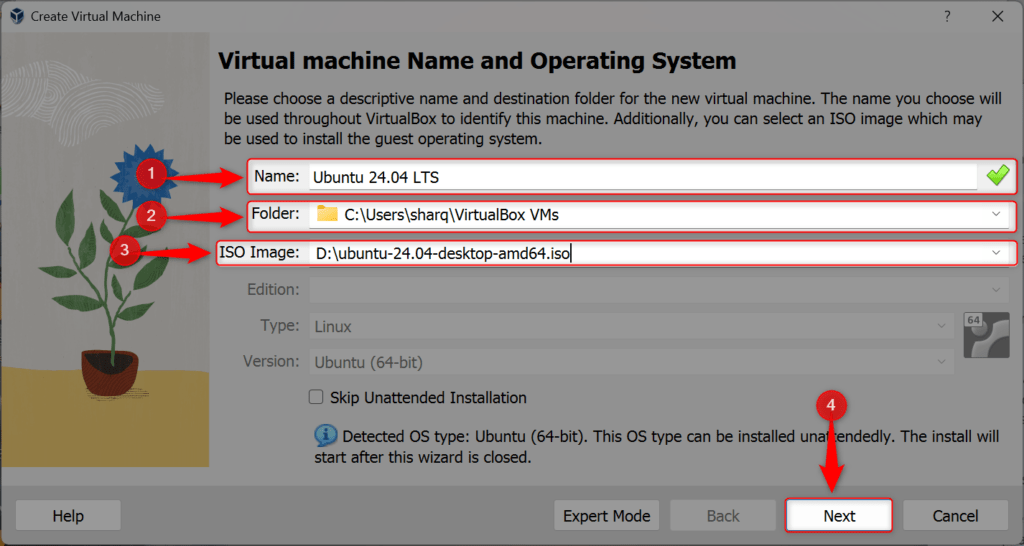
Step 3: Setup New Virtual Machine
Set a name for the VM, choose a folder to store data, and select the Ubuntu 24.04 ISO file you downloaded earlier. Then, press the “Next” to proceed:
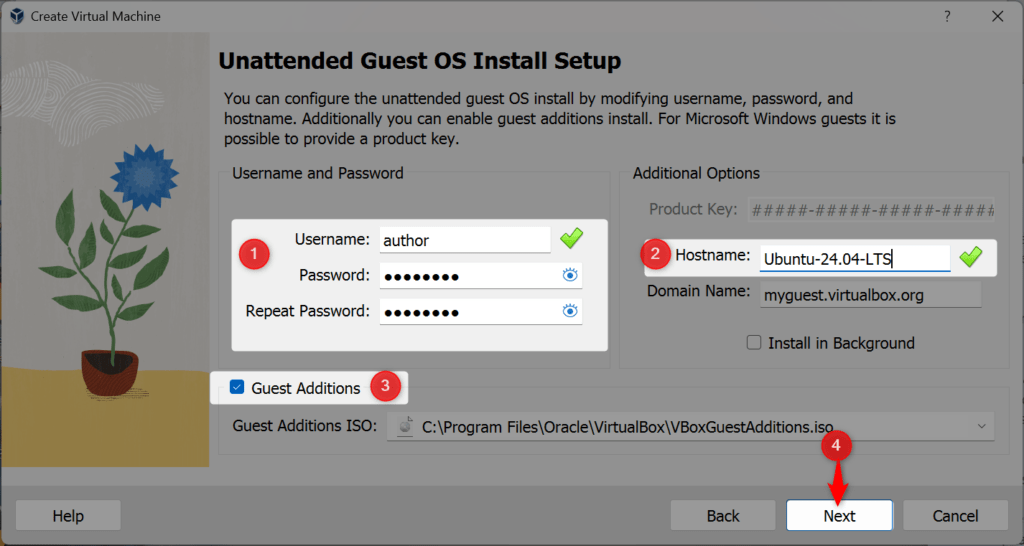
Step 4: Setup Username and Password
Pick and set a Username and strong Password. Type the Hostname without spaces, you can use hyphens “–” instead. Next, check the Guest Addition box and hit the “Next” button:
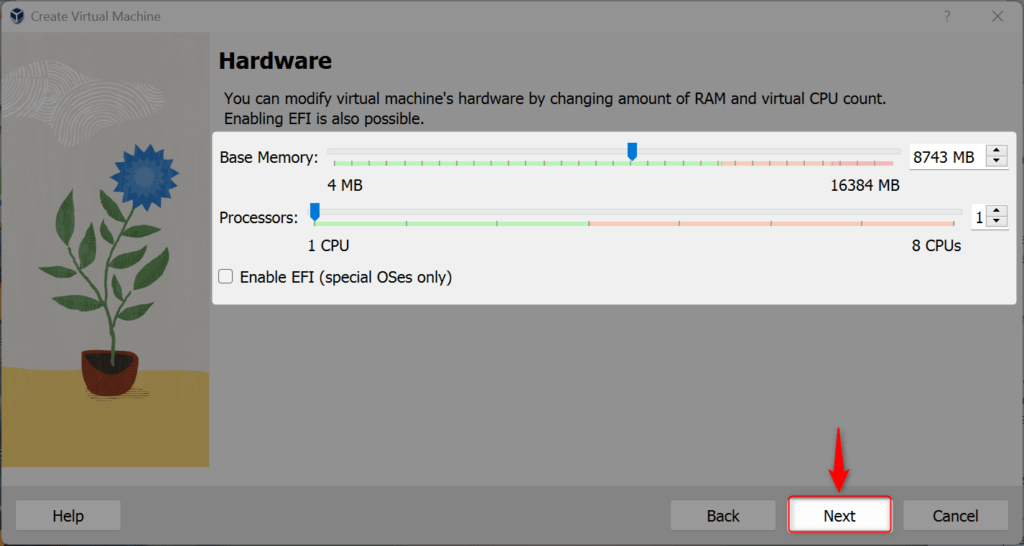
Step 5: Modify VM Hardware Settings
Move the slider to the respective Base Memory and Processor you want to set for your VM. It is recommended to allocate at least 4 GB RAM and 1 processor:
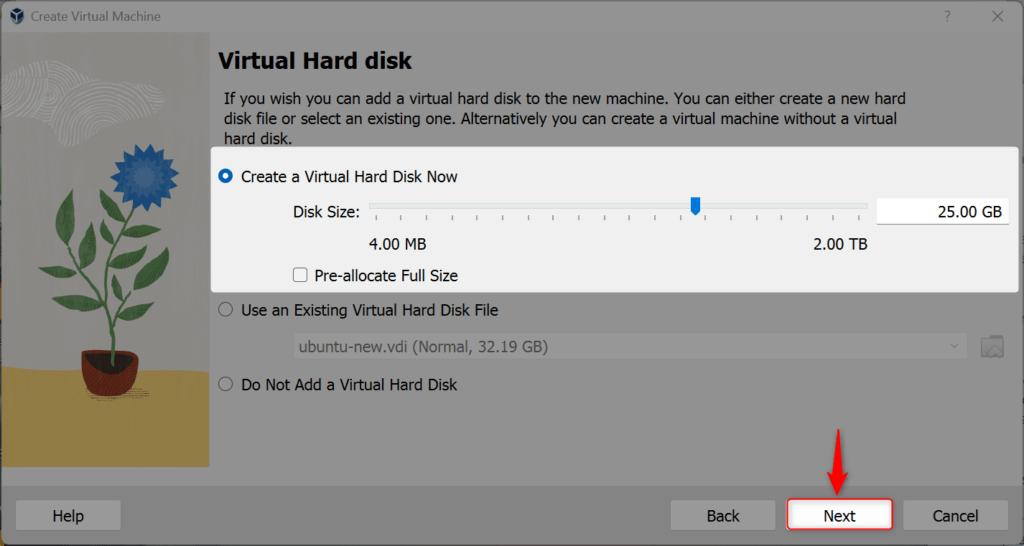
If you want to create a new hard disk for VM, then check the “Create a Virtual Hard Disk” radio button and click “Next”:
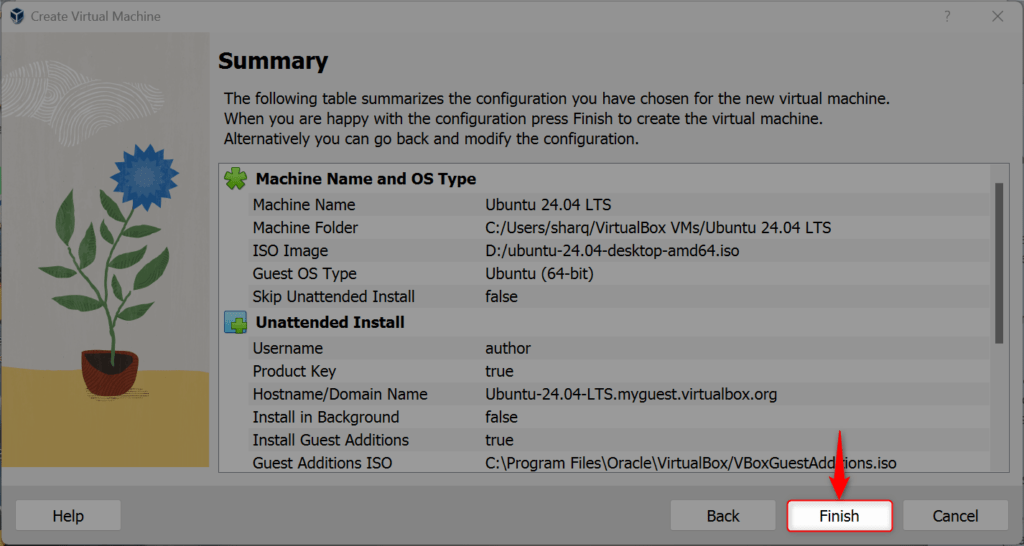
Now, click on the “Finish” button:
How to Install Ubuntu 24.04 in VM?
To install and set up Ubuntu 24.04 in VM, follow the below steps:
Step 1: Powerup the Virtual Machine
Turn on the Ubuntu 24.04 VM if it’s not:
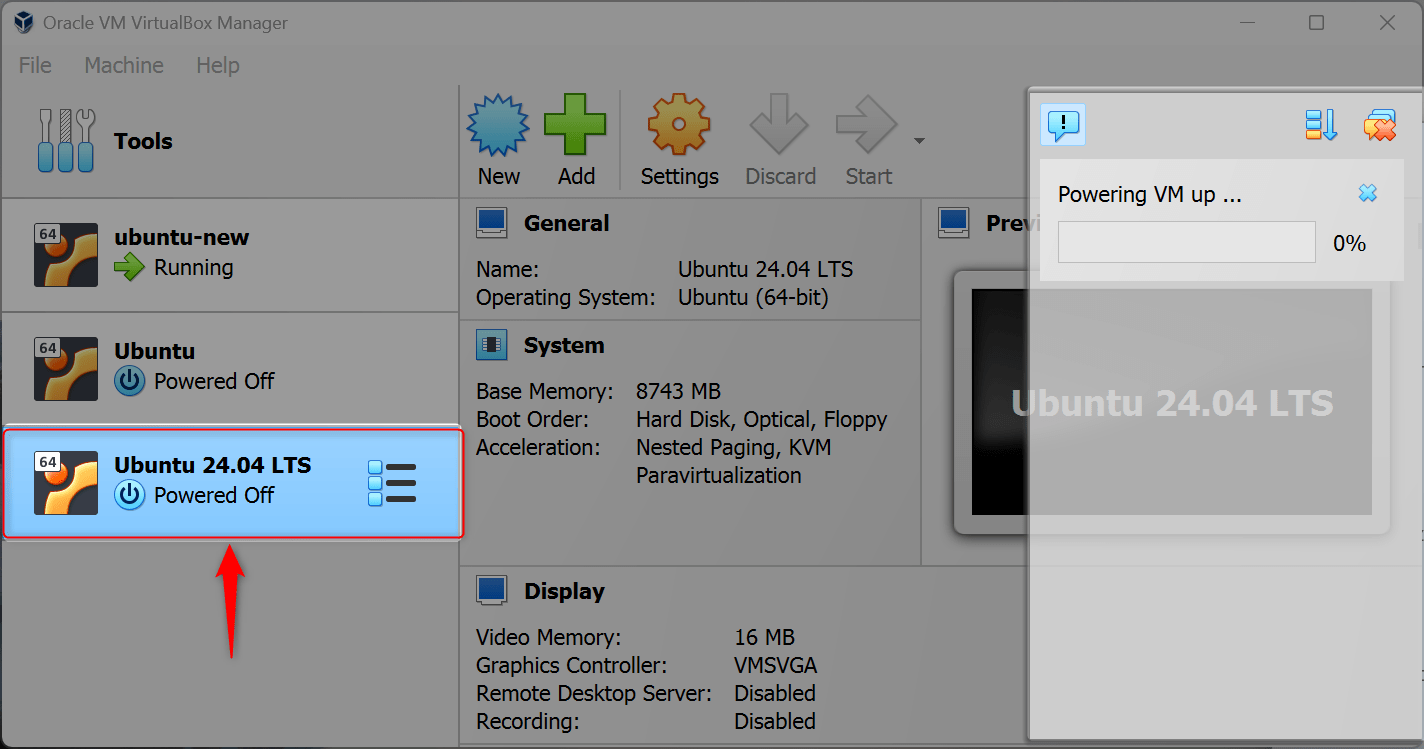
Wait for a while:
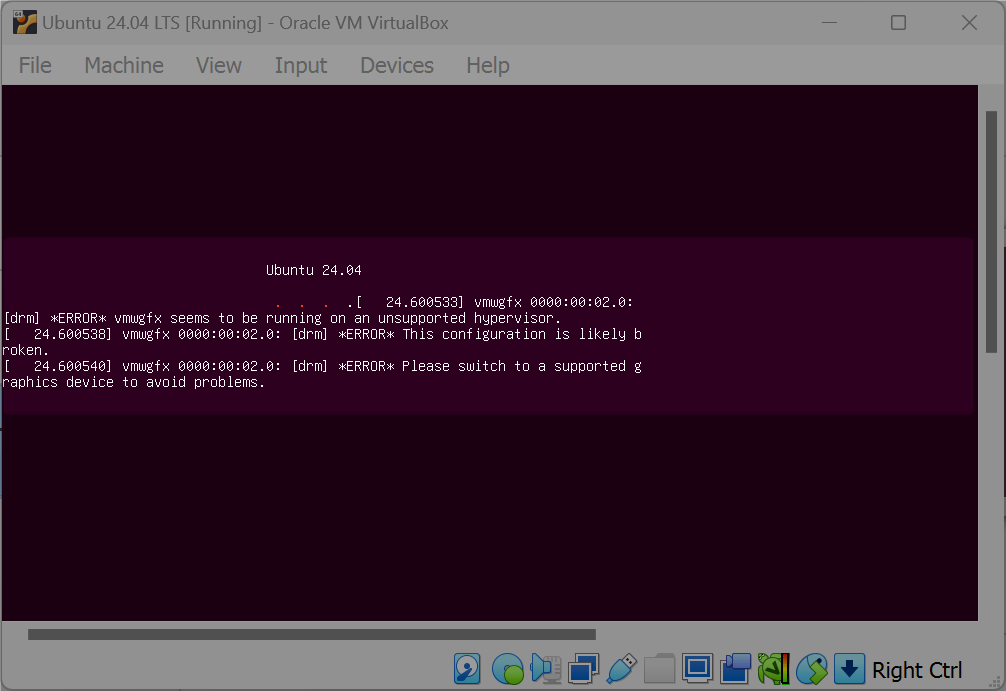
If you are encountering this error in Ubuntu 24.04, then no worries it will disappear after a few minutes:
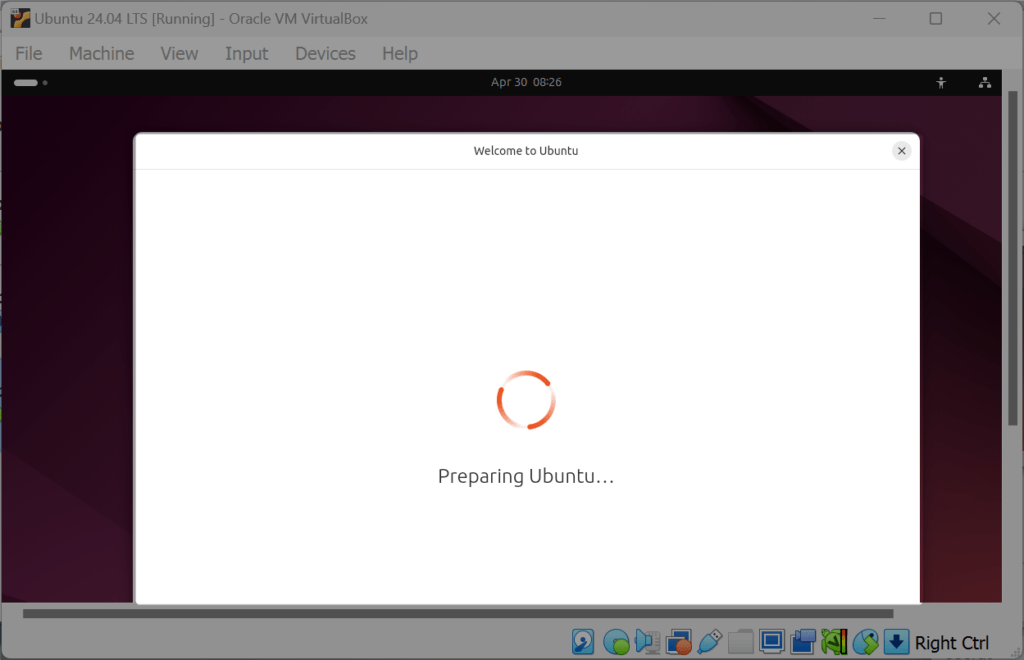
Ubuntu 24.04 VM has been turned on successfully:
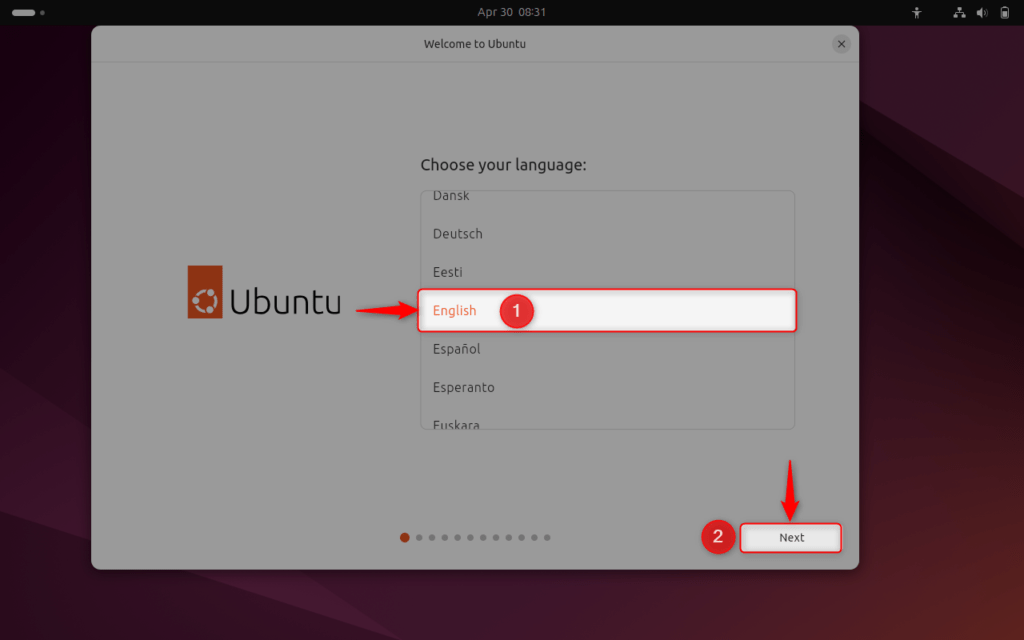
Step 2: Choose a language
Select an appropriate language to set as default for Ubuntu 24.04 and press the “Next“:
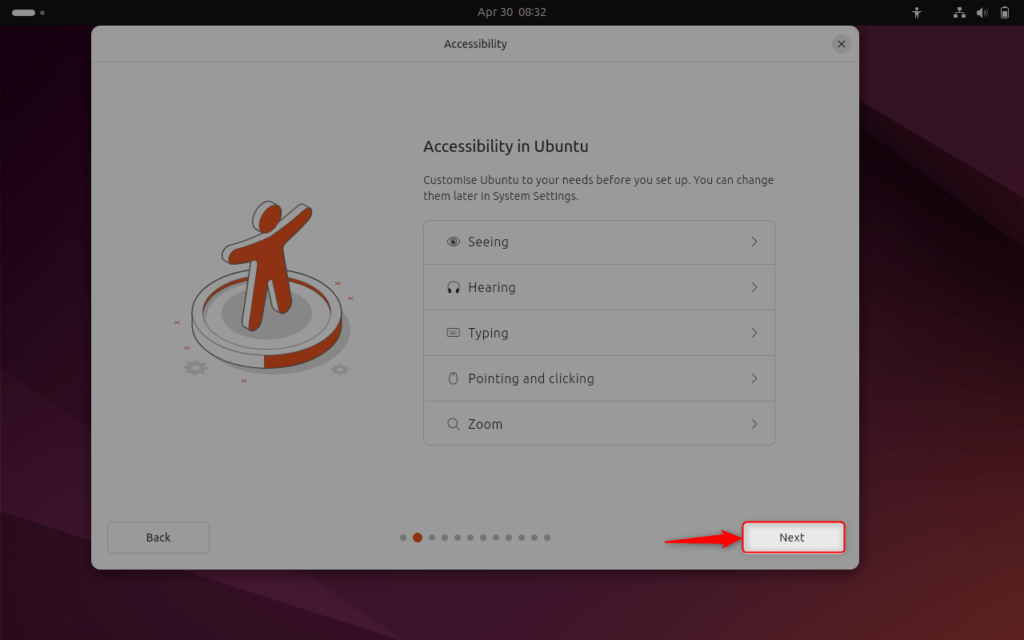
Step 3: Customize Accessibility Options
If you want to customize accessibility options for Ubuntu 24.04, set them. Otherwise, you can change them later in Settings. Hit the “Next” to continue the Ubuntu 24.04 installation :
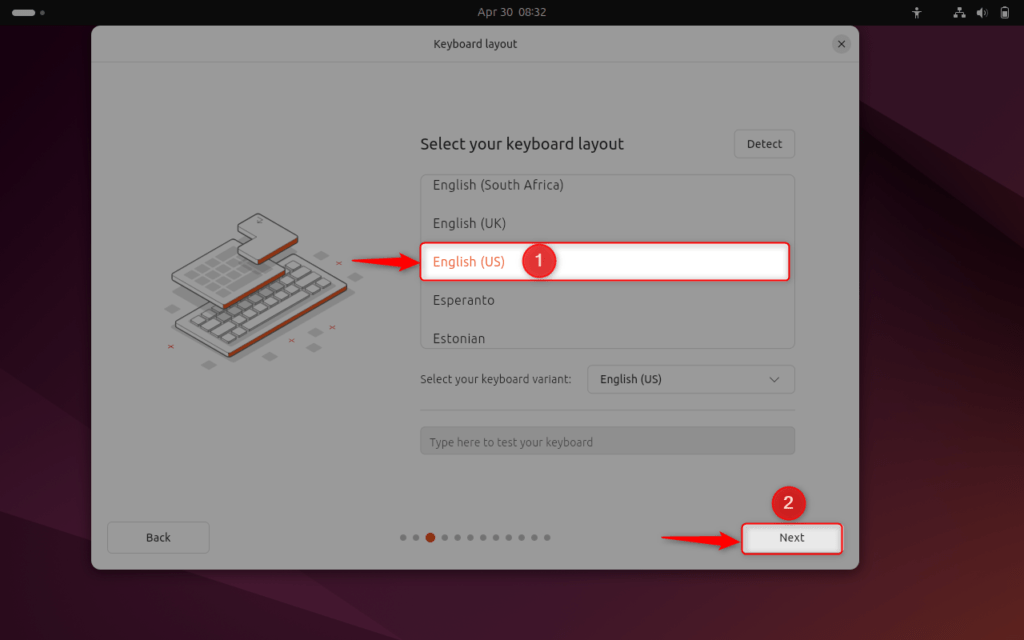
Step 4: Select Keyboard Layout
Pick a default keyboard layout for Ubuntu 24.04 and hit “Next“:
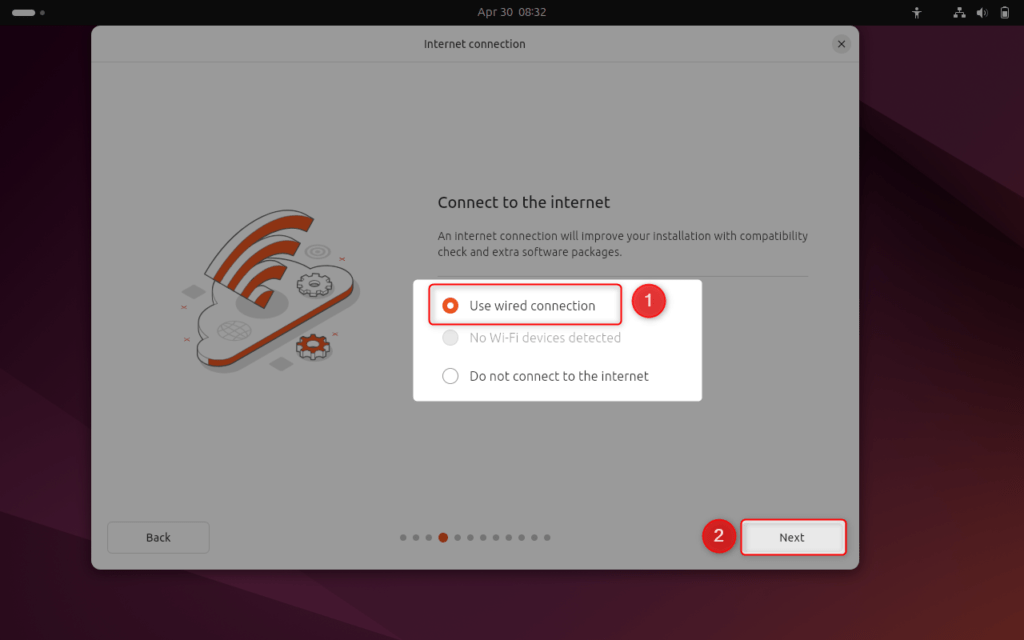
Step 5: Connect to the Internet
Now, choose the “Use wired connection” radio button and press the “Next“:
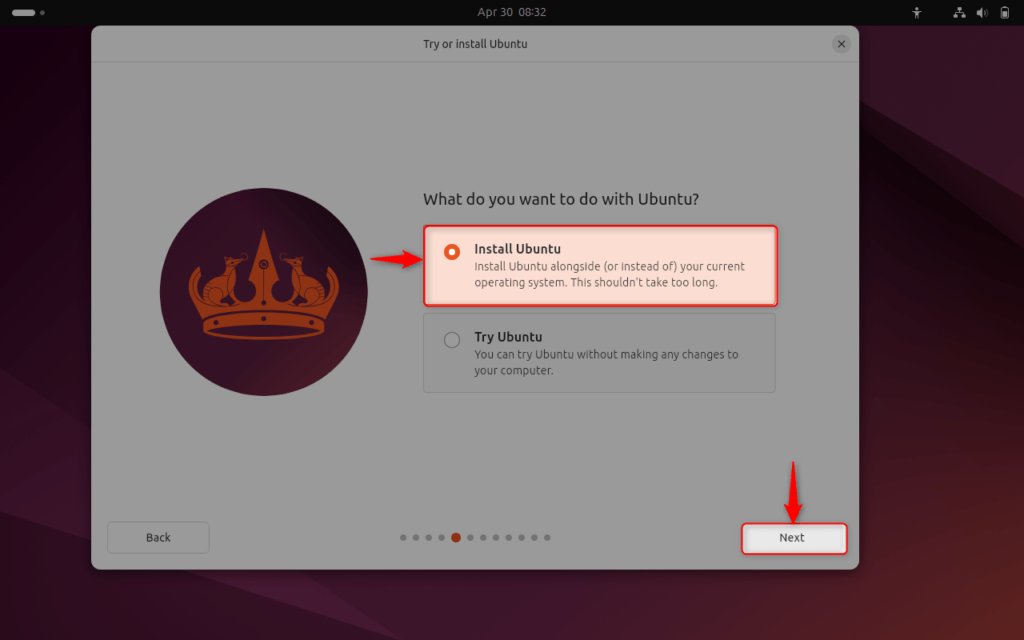
Step 6: Install Ubuntu
Select “Install Ubuntu” and hit “Next”:
Then, set the option to “Interactive Installation” and hit “Next”:

Step 7: Install Apps
As the next step, choose “Default selection”, and before moving forward make sure that you have plugged in your computer to a power source:
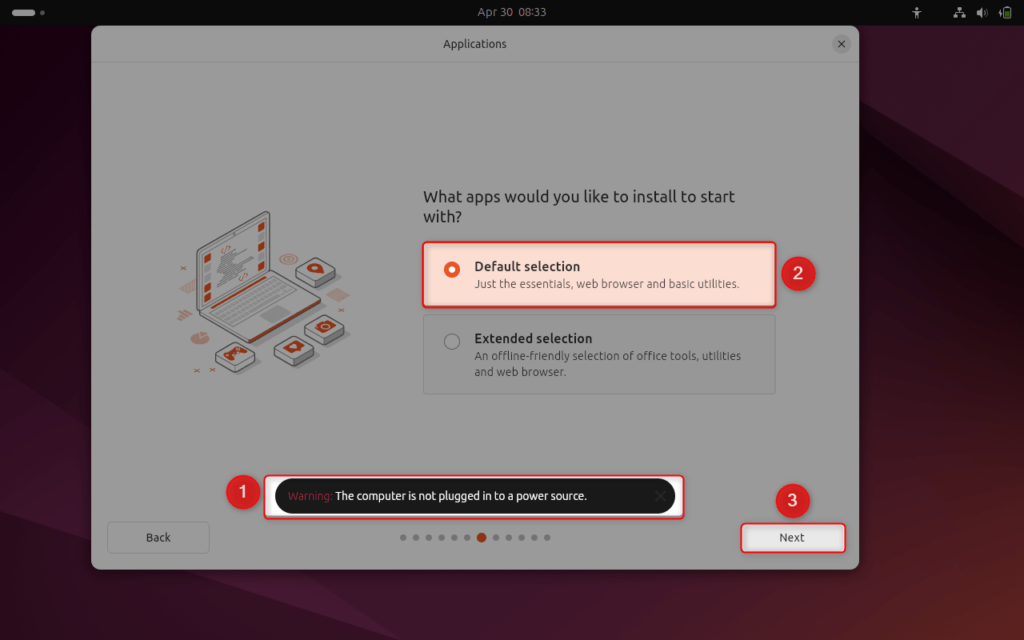
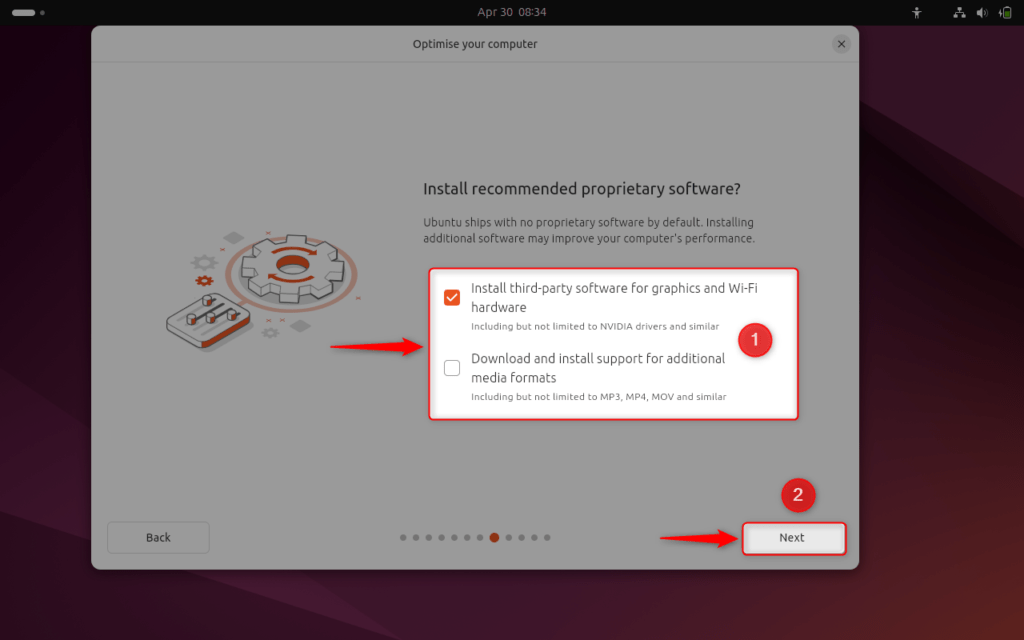
Now, choose a suitable option and hit “Next”. It is recommended to install third-party software for graphics and Wifi:
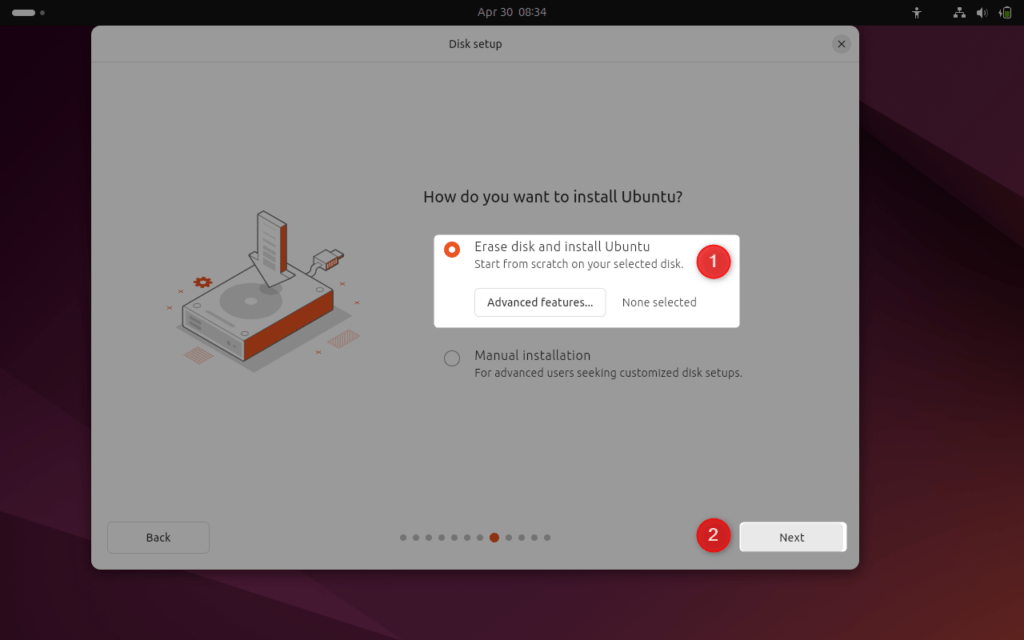
Step 8: Erase Disk
Mark the highlighted option and move forward toward the installation process:
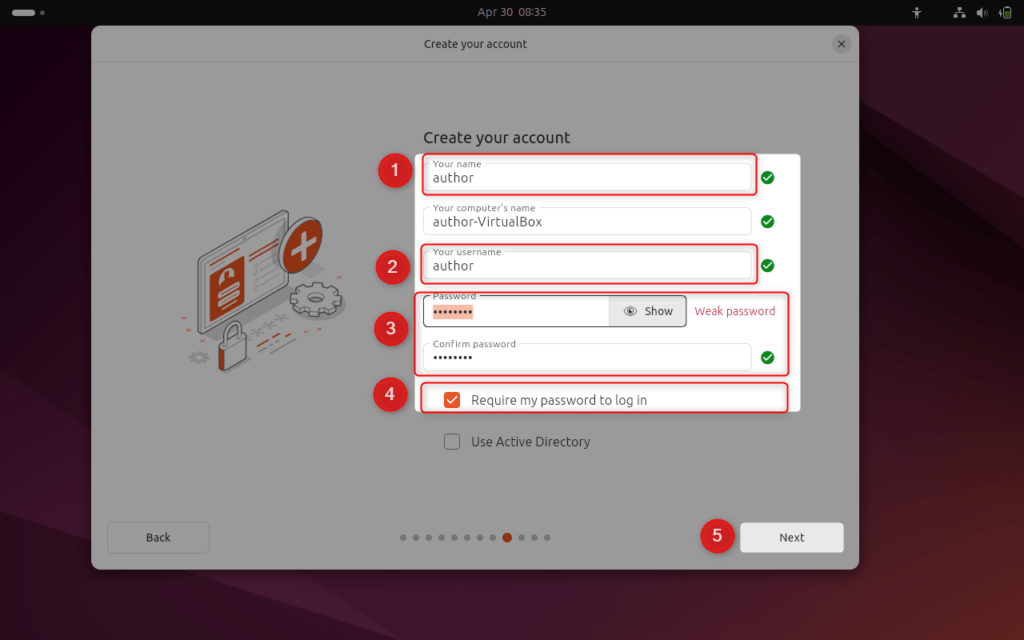
Step 9: Setup Account on Ubuntu 24.04
Now, set up a new user account for Ubuntu 24.04. For this purpose, provide the required information such as your name, computer name, username, and password. After that, hit “Next” to proceed:
Step 10: Configure TimeZone
Choose a location and pick the respective Time Zone:
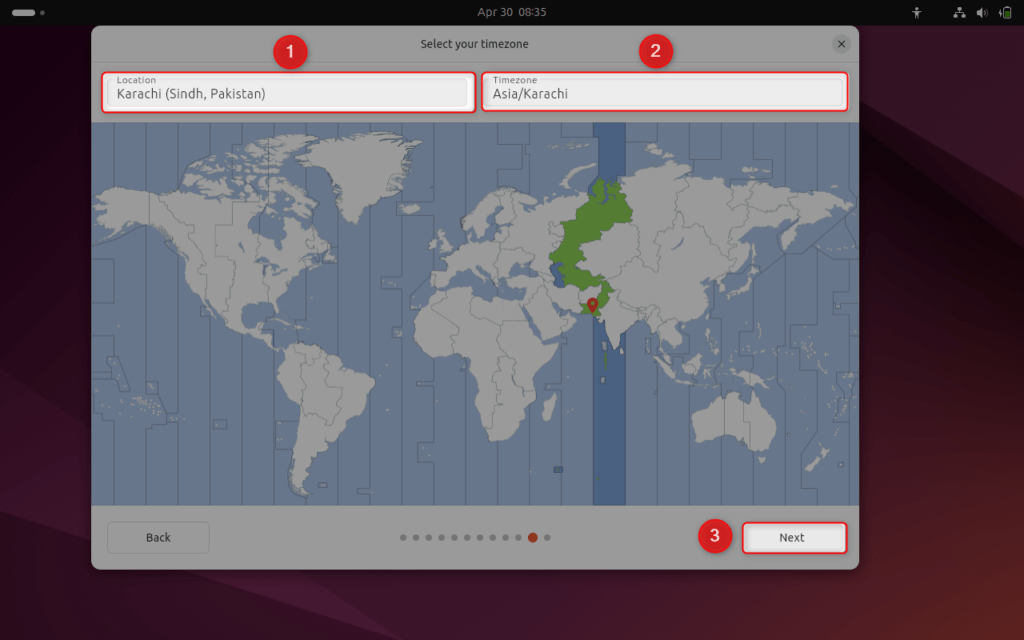
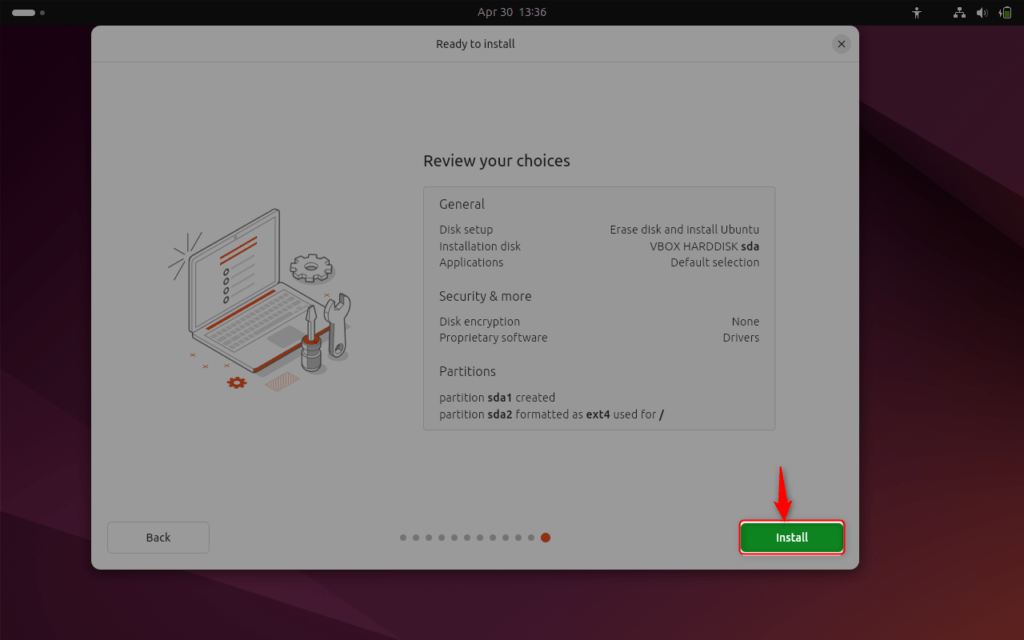
Finally, hit the “Install” button to install Ubuntu 24.04 in VM:
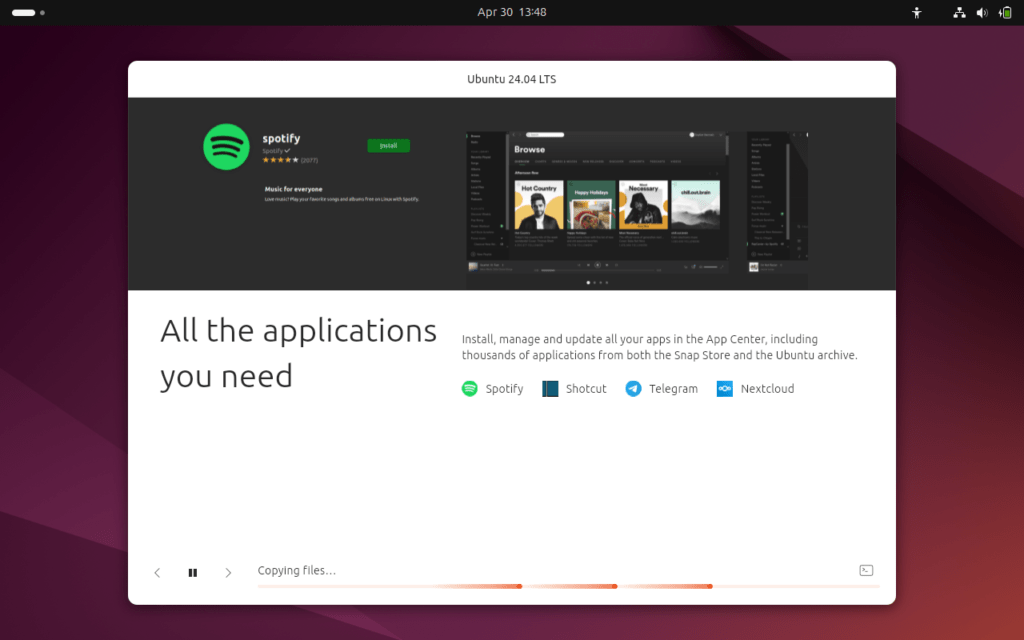
Wait until the installation process is completed:
Ubuntu 24.04 has been installed successfully, For confirmation, launch the Ubuntu 24.04 terminal using the “CTRL+ALT+T” key and execute the following command:
hostnamectl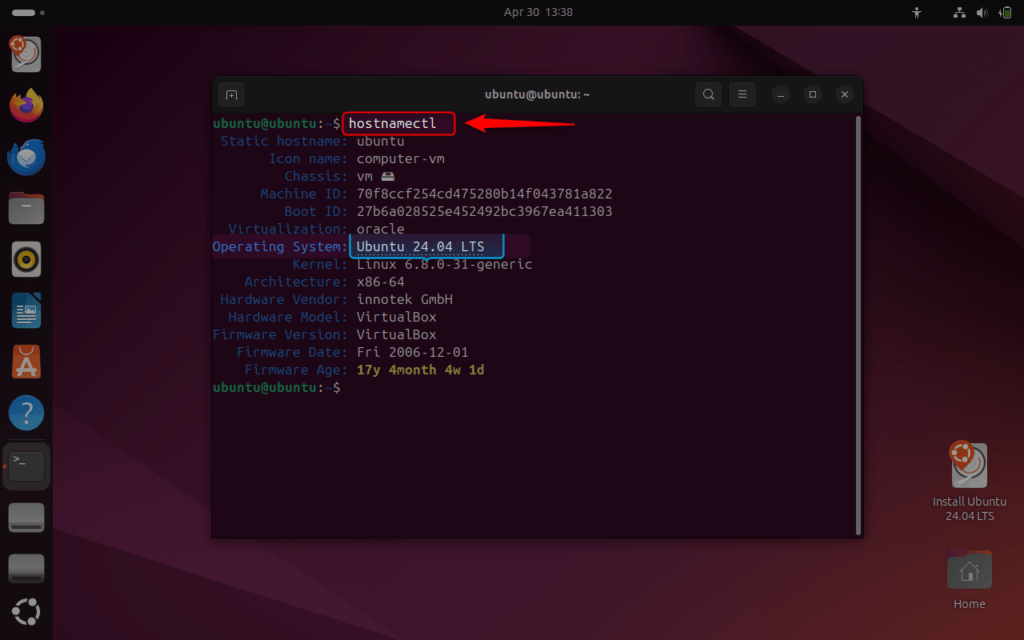
To sum up, install the Ubuntu 24.04 Noble Numbat by downloading the Ubuntu 24.04 ISO file and creating a virtual machine in the hypervisor tool. Then, turn on the machine and complete the on-screen instructions.
Software engineer with 3+ years of expertise in Linux, Windows, and multiple programming languages. Proficient in Docker, Kubernetes, and Elasticsearch. Passionate about building scalable systems and helping others through clear, problem-solving guides